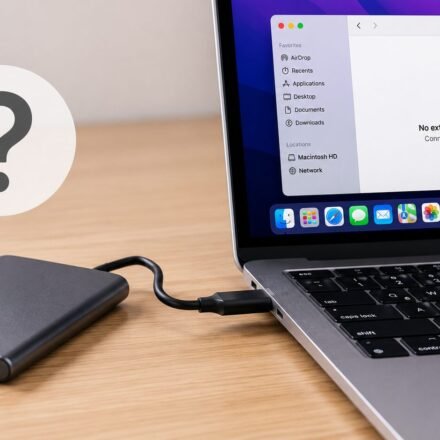
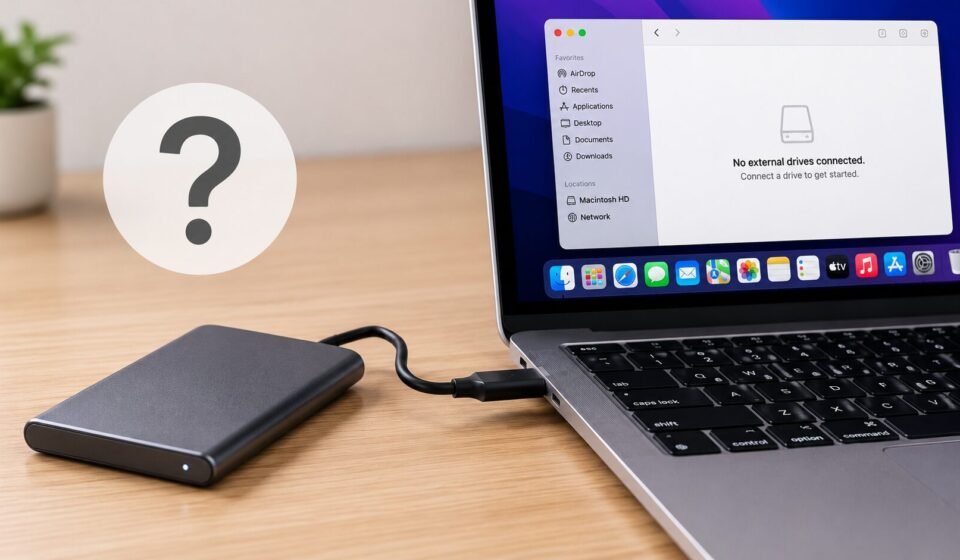

You plug in your external SSD and nothing happens. No icon on the desktop, no entry in Finder, just silence. Maybe you’ve unplugged it and tried again three times already. Before you write the drive off as dead, work through the checks below in order. Nine times out of ten, this comes down to a cable, a setting, or a mount status not a failed drive, and not a corrupted SSD you need to replace.
Table Of Content
- Quick Answer: Why Your External SSD Isn’t Showing Up
- What “Not Showing Up” Actually Means
- 1. Check Your Cable and Port First
- 2. Confirm the Drive Is Actually Getting Power
- 3. Tell Finder to Show External Disks
- 4. Look for the Drive in Disk Utility
- 5. Manually Mount the Drive in Disk Utility
- 6. Run First Aid to Repair Disk Errors
- 7. Rule Out a File System Mac Can’t Read
- 8. Update the SSD’s Driver or Firmware
- 9. Grant the Drive Permission Under Privacy & Security
- 10. Reset NVRAM (Intel Macs Only)
- 11. Reset the SMC (Intel Macs Only)
- 12. Test the Drive on Another Computer
- Common Error Messages, Explained
- Preventing This From Happening Again
- Intel Mac vs Apple Silicon Mac: What’s Actually Different
- A Real-World Example: Diagnosing a “Dead” SSD in Under Five Minutes
- Fixes Ranked by How Often They Actually Work
- Frequently Asked Questions
- Why does my brand-new external SSD not show up on my Mac at all?
- Is it safe to reset NVRAM on my Mac?
- Can I fix an external SSD without losing my files?
- Why does my SSD show up in Disk Utility but not on the desktop or in Finder?
- Do Apple Silicon Macs need a manual NVRAM or SMC reset?
- Should I contact Apple Support or the SSD manufacturer if none of this works?
- My Bottom Line
Quick Answer: Why Your External SSD Isn’t Showing Up
An external SSD usually goes missing on a Mac for one of three reasons: a charge-only cable that carries power but no data, a Finder preference that hides external disks by default, or a drive that Disk Utility can see but hasn’t mounted. Open Disk Utility first. If your SSD appears there under grayed-out text, you’re dealing with a mount problem you can fix in minutes. If it doesn’t appear at all, start with the physical connection.
What “Not Showing Up” Actually Means
Before diving into fixes, it helps to know which failure you’re dealing with, because the cause is different in each case.
- Not visible on the desktop, but works fine elsewhere in Finder. This is a display setting, not a real problem. Go straight to Fix 3.
- Not in Finder, not on the desktop, but present in Disk Utility. macOS sees the hardware but hasn’t mounted the volume. Go to Fix 4 or Fix 5.
- Not in Disk Utility at all, even with “Show All Devices” on. macOS never detected the drive at the hardware level. Start with Fixes 1 and 2.
- Was working yesterday, stopped after a macOS update. This points to a driver issue or a permissions change. Check Fixes 8 and 9 first.
Mac Comet users troubleshooting a MacBook, iMac, Mac mini, or Mac Studio will find the same four categories apply regardless of which Mac you’re on only a couple of steps differ between Intel and Apple Silicon models, which we’ll flag as we go.
1. Check Your Cable and Port First
This sounds too simple to matter, but it’s the single most common cause on this list. Plenty of USB-C cables that ship with phone chargers and power banks carry electricity only no data line at all. Your SSD will happily draw power from one of these cables and sit there fully charged, invisible to macOS, because the cable was never built to move files in the first place.
Use the cable that came with the SSD, or one explicitly labeled for data transfer, not just charging. A cable that says “fast charging” on the packaging is not the same thing as a data cable, and manufacturers rarely make that distinction obvious. Then try a different port on your Mac. MacBooks split their Thunderbolt controllers across sides, so a port on the left can behave differently than one on the right, even though they look identical.
If you’re going through a hub or dock, plug the SSD directly into the Mac instead. Cheap hubs are a frequent culprit here, especially under load from other connected devices like external monitors or keyboards competing for the same bandwidth. If the drive mounts once connected directly but not through the hub, you’ve found your answer, and it’s worth spending a bit more on a hub built for data-heavy peripherals.
2. Confirm the Drive Is Actually Getting Power
A light on your SSD tells you it’s receiving power. It does not tell you it has established a data connection with your Mac, and that distinction trips people up constantly. Bus-powered SSDs pull electricity straight from the USB or Thunderbolt port, and some older or budget enclosures need more power than a single port reliably delivers, especially when routed through a hub with several devices attached at once.
If your SSD has its own power adapter, plug it in directly and skip the hub entirely for this test. If it’s bus-powered, connect it straight to a port on the Mac rather than through a keyboard, monitor, or dock, all of which can throttle the power passed through to downstream devices.
Underpowered drives sometimes spin up, click, or disconnect and reconnect repeatedly if you hear a repeating click or the drive icon flickers in and out, treat that as a power issue first, not a software one, since no amount of software troubleshooting fixes a starved power supply.
3. Tell Finder to Show External Disks
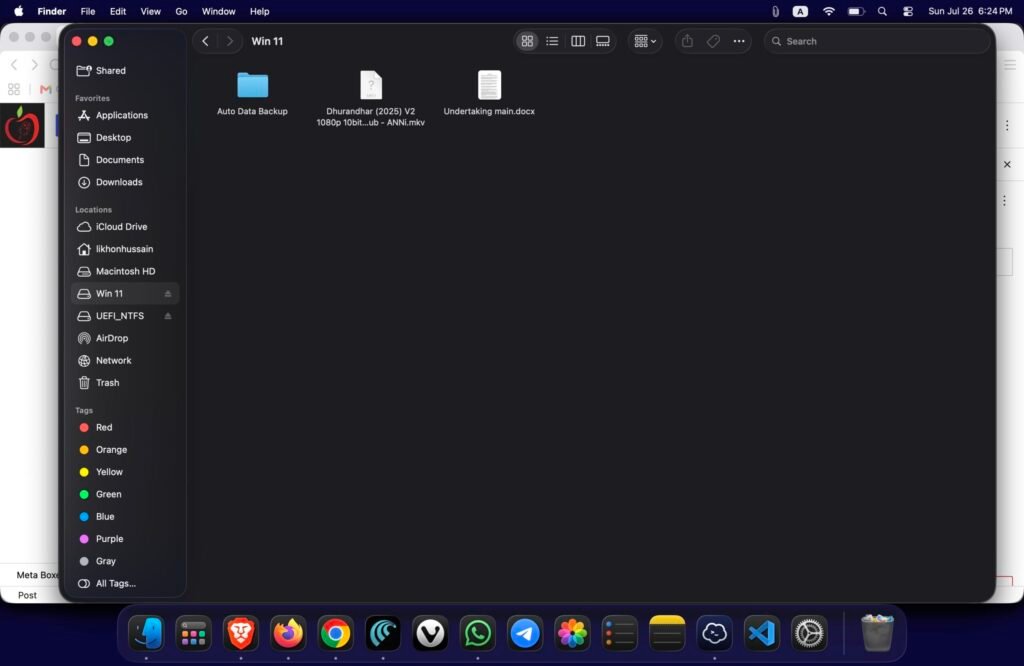
macOS hides external disks from the desktop by default, and a surprising number of “missing” drives are actually mounted and working perfectly just invisible in the one place you happen to be looking.
Open Finder, go to Finder in the menu bar, then Settings (this was called Preferences on older macOS versions; the location is the same, just the name changed). Click General, and check the box next to “External disks” under “Show these items on the desktop.” While you’re there, click the Sidebar tab and make sure “External disks” is also checked under Locations.
If your SSD was mounted the whole time, it’ll appear the moment you check these boxes, and you can stop reading right here. It’s worth checking this first before assuming anything more serious is wrong, since it takes ten seconds and resolves a large share of the “my drive disappeared” reports floating around forums and support threads.
4. Look for the Drive in Disk Utility
If the drive isn’t in Finder or on the desktop, check whether your Mac has detected it at the hardware level. Disk Utility is where that happens before anything ever reaches Finder, so it’s the most reliable diagnostic tool you have.
Open Spotlight with Command + Space, type Disk Utility, and press Enter. Once it opens, click View in the toolbar and select “Show All Devices.” This step matters more than people expect, because Disk Utility’s default view sometimes hides connected drives depending on their partition scheme or container structure. Look in the sidebar for your SSD’s name, capacity, or manufacturer label.
If it’s there but grayed out, your Mac sees it but hasn’t mounted it skip ahead to Fix 5. If it’s not there at all, even with every device shown, that points to a connection or power problem, so go back to Fixes 1 and 2 before continuing any further down this list.
5. Manually Mount the Drive in Disk Utility
A drive that shows up grayed out in Disk Utility is detected but not mounted, which is a far easier problem to solve than it sounds. Select the drive in the sidebar and click Mount in the toolbar. Give it a few seconds external SSDs with large partitions, or drives formatted with multiple volumes, can take longer to mount than you’d expect, especially over USB rather than Thunderbolt.
If the Mount button is grayed out too, that usually means Disk Utility found a structural problem with the disk’s directory, not that the button is broken. That’s not a dead end; it’s your cue to move straight to First Aid, which is built specifically for this situation.
6. Run First Aid to Repair Disk Errors
First Aid checks your SSD’s file system for errors and repairs what it can, without touching the actual files stored on the drive. Select the drive in Disk Utility, click First Aid, then Run. Let it finish completely interrupting it partway through, by force-quitting or disconnecting the drive, is one of the few ways this process can genuinely cause damage where there wasn’t any before.
If First Aid reports that it repaired the disk, try mounting it again using Fix 5. If it comes back with an error it can’t fix, or the process fails outright partway through, back up whatever you can access before doing anything else. At that point, the drive may need reformatting to become usable again, and reformatting erases everything on it, which is why backing up first matters so much here.
7. Rule Out a File System Mac Can’t Read
Here’s something that trips up a lot of new SSD owners, especially anyone switching between a Mac and a Windows PC: macOS handles some file systems very differently than Windows does. A drive formatted as NTFS will mount on a Mac, but read-only by default, and it may not even show up in Finder without extra software installed first.
exFAT and FAT32 generally work fine for reading and writing across both platforms, but corruption in either format can still stop the drive from mounting on its own. Check the format in Disk Utility by selecting the drive and looking at the file system listed under its info panel.
If it says NTFS and you need to write files to it regularly from your Mac, install a dedicated NTFS driver for Mac several reputable options exist, and they let you read and write the drive normally without reformatting anything. If the drive was originally formatted on a much older Mac, HFS+ can occasionally cause compatibility hiccups too, though this is far less common today than the NTFS problem.
8. Update the SSD’s Driver or Firmware
Some external SSDs, particularly ones built around proprietary controller chips rather than generic USB storage controllers, need a driver update after a macOS system update. The drive worked fine last month, then a system update shipped, and now it won’t mount that timing is rarely a coincidence.
Check the manufacturer’s support page for your exact model number and download the current macOS driver or firmware update, since generic “works with all SSDs” downloads sometimes miss model-specific fixes. Samsung, Crucial, SanDisk, WD, and most other major brands maintain these downloads directly on their sites, and installing the latest version is often the entire fix on its own. Do this before you consider reformatting anything, since reformatting won’t solve a driver mismatch and just costs you your data for nothing.
9. Grant the Drive Permission Under Privacy & Security
Apple Silicon Macs run tighter security by default, and that includes permissions around removable media that Intel Macs never enforced in the same way. If your SSD connects and the light comes on, but macOS silently ignores it with no error message at all, check whether an app or system setting is quietly blocking access.
Open System Settings, go to Privacy & Security, and scroll down to see if there’s a pending request related to external accessories or removable volumes waiting for your approval. Also check under General, then Login Items & Extensions, for any disk-related kernel extensions or system extensions that might need manual approval after a recent update. It’s an easy step to overlook entirely, and it resolves more cases than you’d expect on newer M-series Macs.
10. Reset NVRAM (Intel Macs Only)
NVRAM stores a small set of settings your Mac needs before macOS even finishes loading, including some display and startup preferences that can occasionally interfere with how peripherals get detected. On an Intel Mac, shut down completely, then power on and immediately hold Option + Command + P + R for about 20 seconds before releasing the keys.
If you’re on an Apple Silicon Mac, meaning any M1, M2, M3, or M4 chip, skip this step entirely. Apple Silicon resets the equivalent settings automatically during every normal startup there’s no manual key combination on these machines, and holding random keys during boot won’t accomplish anything useful or harmful either way.
11. Reset the SMC (Intel Macs Only)
The System Management Controller handles power delivery to ports, fan behavior, and battery management, among other things, which makes it directly relevant to a drive that won’t get recognized despite being plugged in correctly.
The reset process varies by Intel Mac model: MacBooks with a T2 security chip use one key combination, older MacBooks without a T2 chip use a different one, and desktop Macs like the iMac use a method involving unplugging the power cable entirely for fifteen seconds.
Look up the exact steps for your specific Intel Mac model and year before attempting this, since using the wrong combination for your hardware just wastes time without fixing anything. Apple Silicon Macs don’t have a separate SMC in the traditional sense at all, so if you’re on an M1 through M4 Mac, a normal shutdown and restart accomplishes the equivalent reset automatically.
12. Test the Drive on Another Computer
If you’ve worked through everything above and your SSD still refuses to show up, it’s time to isolate whether the problem lives in your Mac or in the drive itself. Connect the SSD to a different computer, ideally one running a different operating system than your Mac, to rule out any Mac-specific setting entirely.
If it shows up fine elsewhere, the issue lives somewhere in your Mac’s settings, cable, or a specific port, and you can go back through Fixes 1 through 9 with fresh eyes and a clearer sense of where to look. If it doesn’t show up anywhere, on any machine, you’re likely looking at a genuine hardware failure inside the enclosure or the SSD itself. At that point, prioritize getting your data off using a data recovery tool before you do anything that involves reformatting, replacing the drive, or sending it in for warranty service.
Common Error Messages, Explained
A few messages tend to show up alongside a missing SSD, and each one points somewhere specific.
- “The disk you inserted was not readable by this computer.” This usually means the drive is unformatted, uses a file system macOS can’t parse at all, or has a corrupted partition table. Disk Utility can initialize it, but only do this if you’re certain there’s no data on it you need.
- “Disk not ejected properly.” This is a warning about the last disconnection, not the current one, and doesn’t by itself explain why the drive isn’t showing up now.
- No message at all, just a blank Finder. This is the scenario Fixes 3 through 5 are built for the drive is usually there, just hidden or unmounted.
Preventing This From Happening Again
A few habits cut down how often this problem shows up in the first place. Always eject external drives properly through Finder before unplugging them, since a sudden disconnect is one of the more common ways a file system ends up corrupted. Keep the original cable that shipped with your SSD, or clearly label a known-good data cable, so you’re not guessing later which one actually transfers files.
If you regularly move a drive between a Mac and a Windows PC, format it as exFAT from the start rather than NTFS, since exFAT reads and writes natively on both without extra software. Finally, check for firmware updates from your SSD manufacturer every few months, particularly after a major macOS update, rather than waiting until something breaks.
Intel Mac vs Apple Silicon Mac: What’s Actually Different
| Fix | Intel Mac | Apple Silicon Mac (M1–M4) |
| NVRAM reset | Manual key combo at startup | Automatic, no key combo exists |
| SMC reset | Manual, varies by model | No separate SMC; restart handles it |
| Removable media permissions | Rarely an issue | Can require explicit approval |
| NTFS read/write | Same limitation | Same limitation |
| Driver/firmware updates | Same requirement | Same requirement |
A Real-World Example: Diagnosing a “Dead” SSD in Under Five Minutes
Say you plug a 2TB external SSD into a MacBook Pro and get nothing no desktop icon, no Finder entry. Here’s how the diagnosis actually plays out in practice. First, open Disk Utility and click “Show All Devices.” The drive shows up, grayed out, listed at its correct capacity. That single detail rules out Fixes 1 and 2 immediately, since a drive with a bad cable or no power wouldn’t appear in Disk Utility at all. It also rules out a dead drive, since dead hardware doesn’t register a capacity.
From there, click Mount. If it mounts instantly, the entire issue was a Finder preference hiding it from the desktop, and Fix 3 confirms that on the next check. If the Mount button stays grayed out, First Aid becomes the next stop, and a repaired file system usually resolves the rest. This is the pattern behind most “my SSD just disappeared” situations: Disk Utility tells you almost everything you need to know within the first thirty seconds, and it’s worth treating as your starting point rather than a last resort.
Fixes Ranked by How Often They Actually Work
Based on how these issues tend to break down in practice, here’s roughly where to expect the fix to land:
- Cable or port issue (Fix 1) — the most common single cause by a wide margin
- Finder preference hiding external disks (Fix 3) — extremely common, zero risk
- Drive detected but not mounted (Fix 5) — common, especially after a system update
- File system incompatibility, usually NTFS (Fix 7) — common for drives shared with Windows
- Driver or firmware mismatch (Fix 8) — occasional, tied to specific enclosure chipsets
- Permissions blocking access on Apple Silicon (Fix 9) — occasional, newer issue
- Genuine hardware failure (Fix 12) — least common, but the one that needs the most urgency once confirmed
Frequently Asked Questions
Why does my brand-new external SSD not show up on my Mac at all?
New SSDs sometimes ship unformatted or formatted in a way Disk Utility doesn’t display by default. Open Disk Utility, click View, then “Show All Devices.” If the drive appears grayed out or unformatted, you can initialize it there, though this will erase any factory test data on the drive, which is normal and expected for a brand-new unit.
Is it safe to reset NVRAM on my Mac?
Yes. Resetting NVRAM only clears a small set of settings like display resolution, startup disk selection, and time zone. It doesn’t touch your files, and macOS rebuilds the defaults automatically the next time you start up. This step only applies to Intel Macs, since Apple Silicon handles the equivalent process automatically on every restart.
Can I fix an external SSD without losing my files?
Most of the fixes covered here, including checking cables, adjusting Finder preferences, mounting manually, and running First Aid, carry no risk to your data at all. Reformatting is the one step that erases everything, so treat it strictly as a last resort and back up first whenever the drive lets you access it long enough to do so.
Why does my SSD show up in Disk Utility but not on the desktop or in Finder?
This almost always means the drive is detected but not mounted, or your Finder preferences are set to hide external disks entirely. Checking Finder’s sidebar and desktop settings, and manually mounting the drive in Disk Utility, covers the vast majority of cases where Disk Utility can see a drive that Finder refuses to display.
Do Apple Silicon Macs need a manual NVRAM or SMC reset?
No. M1, M2, M3, and M4 Macs handle both automatically during a normal restart, with no manual key combination required or even possible on these machines. If you’re troubleshooting a drive issue on Apple Silicon, skip straight past Fixes 10 and 11 and focus your attention on the Finder, Disk Utility, and permissions steps instead.
Should I contact Apple Support or the SSD manufacturer if none of this works?
If you’ve confirmed the drive doesn’t appear on a second computer either, contact the SSD manufacturer first, since a hardware failure inside the enclosure or controller is their responsibility under warranty, not Apple’s. If the drive works elsewhere but consistently fails only on your Mac even after these fixes, Apple Support can help rule out a deeper macOS or hardware issue specific to your machine.
My Bottom Line
Most external SSDs that vanish on a Mac aren’t dying they’re stuck behind a cable, a hidden preference, or a mount status that takes one click to resolve. Work through these fixes in order, starting with the physical connection, and you’ll resolve the overwhelming majority of cases before you ever need to consider reformatting. If your drive turns out to have a genuine hardware fault, back up what you can first, then replace the enclosure or the drive itself rather than assuming the whole SSD needs to go.